Reading workflow
Opening a study from a worklist
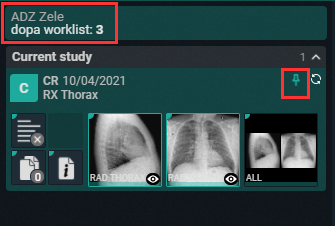
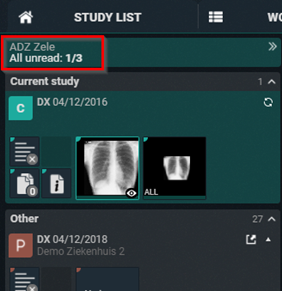
When a study is opened from a worklist, the source of the study is indicated.
The name of the worklist and the number of studies in that list are displayed.
If the study is reserved, this will also be indicated by the pin icon.
Opening studies from selection
The selection boxes for selecting studies can be displayed at order or study level.
Note | |
 | The location of the selection column is set in the management page. To make changes, please contact the service desk. |
• Order level selection: The selection column is displayed as the leftmost column.
• Study level selection: The selection column is displayed to the left of the procedures column.
You can select a specific study by clicking on the procedure description label in the procedures column. This can be useful if you want to open a specific study from an order with multiple studies.
Bulk reporting
To create reports in bulk, select the desired studies by checking the corresponding checkboxes.
Click on the REPORT button at the bottom right or right click to start reporting on the selected studies.
The total number of selected studies is displayed in the series picker.
When the last study of the selected studies is reported, you are redirected back to the worklist page.
Creating a report and study status update
When opening a study, you can choose to automatically open the report in edit mode or manually activate edit mode. This option does not apply to validated reports, which must be edited manually.
Automatically open a report in edit mode
To automatically open reports in edit mode, click on the following icon  . The icon will be highlighted when enabled.
. The icon will be highlighted when enabled.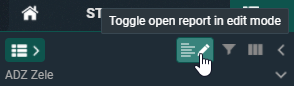
Important | |
 | To keep this option enabled, click save worklist or save as new worklist in the filter panel. |
Manually open a report in edit mode
Click on Edit report (pencil icon) or use the shortcut F2 to directly activate the SpeechMike in record mode.
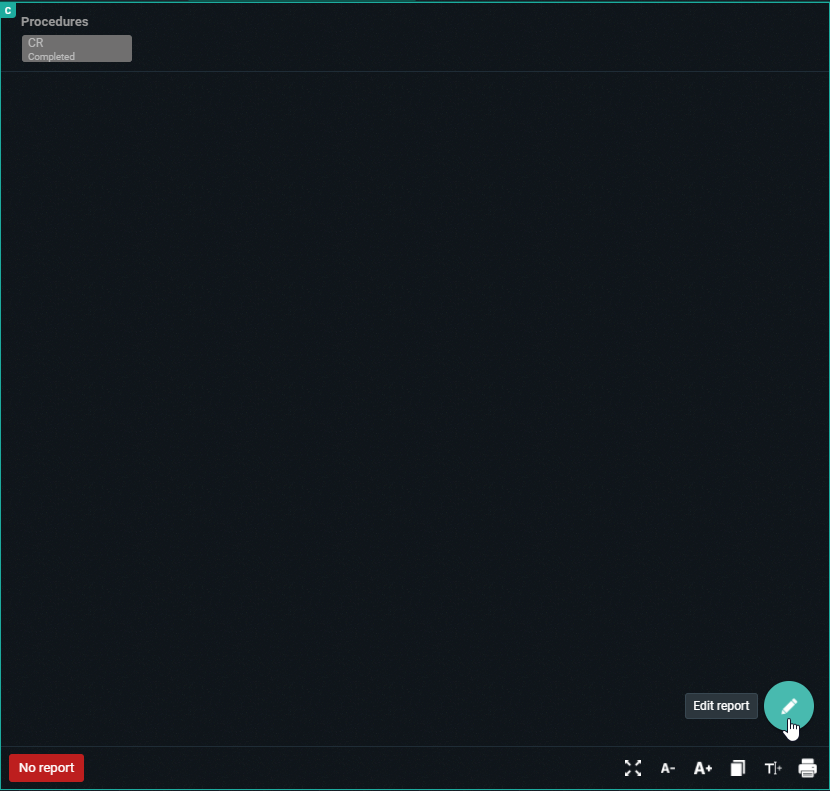
You can now start reporting.
Text blocks
Text blocks can help to speed up the workflow. These are preconfigured blocks of text that can be inserted and modified afterwards.
See Text blocks for more information on how to create and insert text blocks.
Report hyperlinks
You can create hyperlinks from images and add them to the report text.
When is used, the hyperlink will be clickable. If you are using plain text or the report is sent out via HL7 or printed, the hyperlink will be converted to plain text.
Adding a hyperlink to a report
After first selecting the image in the viewport, adding an image hyperlink to the report can be done in three ways.
• Right-click and select the option Add image to report,
• CTRL + drag & drop the image, or
• CTRL + C (to copy the image) and CTRL + V (to paste the image).
All three methods will add the hyperlink to the image at the cursor position.
Display format of hyperlinks
The display format of hyperlinks is not configurable and the format differs for Current study and Prior study. For each format, S = Series and I = Image
Current study:[S+SeriesNumber I+ImageNumber]
Prior study:[Procedure name (study date) - S+SeriesNumber I+ImageNumber]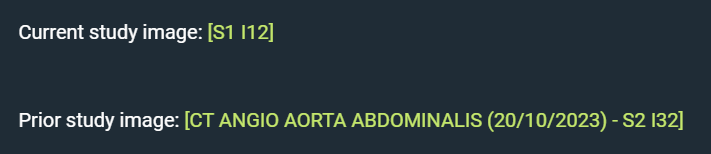
Navigating to a linked image
To navigate to the linked image, simply click on the hyperlink within an editable or non-editable report while working within DeepUnity PACSonWEB.
If the hyperlink was converted to plain text, you will need to manually navigate to the image.
Clicking on the hyperlink will navigate you to the correct image in any of the available image viewports.
Image display location
• If an image viewport was active previously, the last active image viewport will be used.
• If no image viewport was active previously, the first available viewport will be used.
• If the previous active viewport is no longer visible, the image will be displayed in the 1st available non-report viewport
• If the report is full screen, the image will be opened in the report viewport as it is the only viewport available.
Report references an unavailable image
If an image, series or study referenced in a report has since been removed, a dialog box will appear when the hyperlink is clicked, warning you that the image could not be loaded.
For example: If the series is no longer found in the study, the following message is displayed: "This image could not be loaded because the series was not found."
Auto saved reports
The report is automatically saved every 30 seconds. This means that if the connection is lost for any reason, there will be an auto saved version of the report.
• Auto saved reports for a study are displayed in the worklist.
• The icon is only visible to the user who created the auto saved version of the report. Other users will not see the icon in their worklist.

Opening a study with an auto saved report created by you
If you open an auto saved report that you created, a dialog is indicating a previous version of the report was recovered. You will have the option to:
• Restore auto-save: Opens the last auto saved version.
• Start from previous saved version: If a saved report (preliminary/draft) exists, this version will be used.
Opening a study with an auto saved report created by another user
If you open a study where there is an auto saved report created by another user, a warning is displayed indicating that a previous version exists. You will have the option to:
• Cancel: The report is cancelled.
• Continue and discard auto-save: The auto-save will be deleted and a new report is started.
Note | |
| The warning displays the username of the user who created the report. |
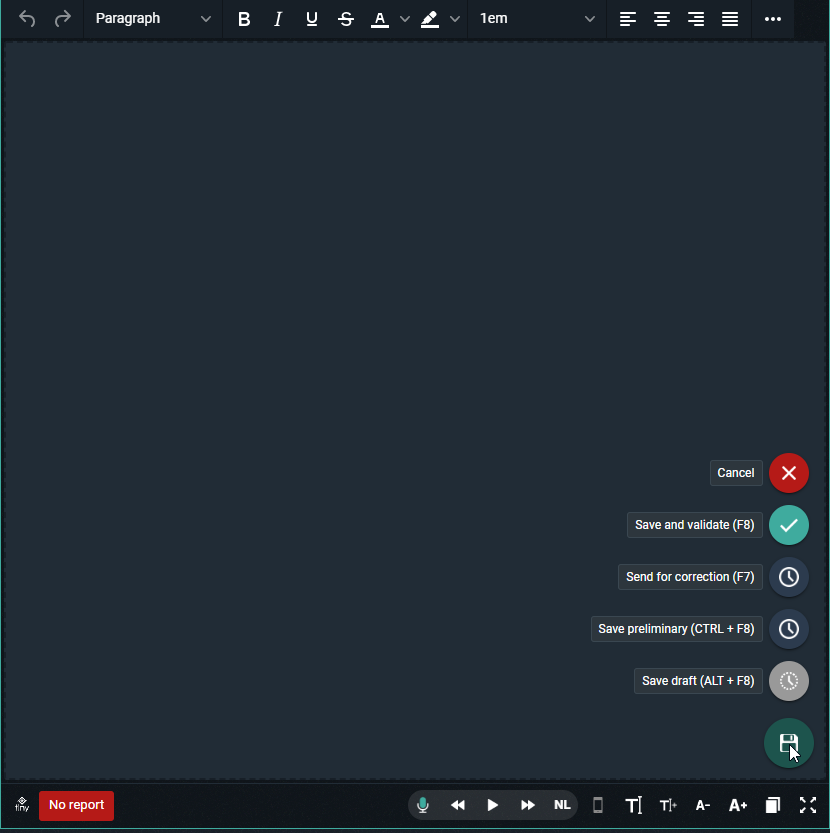
Saving the report
When you are finished creating the report, there are several available actions.
The study status is updated according to the chosen action.
Action | Shortcut key | Study Status |
|---|---|---|
Save and validate | F8 | Finalized |
Send for correction | F7 | Pending report correction |
Save Preliminary | CTRL + F8 | To validate |
Save draft | ALT + F8 | Dictated |
Cancel | n/a | No change in status |
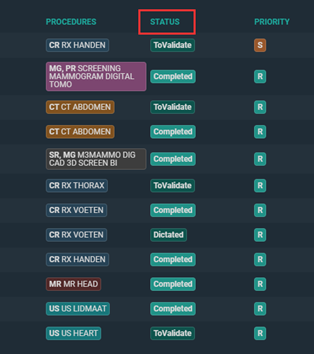
The status is displayed in the Status column of the worklist.
Depending on your preferences, one of the following actions will occur after saving a report:
• Return to worklist
• Move to next study (studies that are reserved or locked are skipped)
• Stay in current study
You can update your Preferences in the user settings, under the preferences tab.
Note | |
| This setting is only applied when opening studies from the worklist. |
Workflow icon
The Workflow menu is accessible from the top toolbar in the viewer through the icon WF.
Action | Description |
|---|---|
Skip | Skips the study (shortkey F9) |
Change status | Changes the status of the study |
Change status and next | Changes the status of the study and moves to the next study |
Change priority | Changes the priority of the study (permission required). |
The following options are only available when in report editing mode | |
Validate and next | Validates the report and moves to the next study |
Save preliminary and next | Saves the report as preliminary and moves to the next study |
Validate and return to list | Validates the report and returns to the worklist |
Save preliminary and next | Saves the report as preliminary and moves to the next study |
Save preliminary and return to list | Saves the report as preliminary and returns to the worklist |
Note | |
| The WF icon is only visible when opening the study from the worklist. |