Importing studies in PACS
|
Important |
|

|
You can only use this function if your local DeepUnity PACSonWEB service partner has installed an import client on your server (paying option).
|
Proceed as follows to import a study into your PACS system:
1. Select the studies you wish to import.
2. Click on DICOM transfer
3. A pop-up window will appear offering you various options, most of these options can be configured, see section DICOM Transfer.
4. Select the desired PACS system in the drop down menu (QR Server).
If a report is available with status set to "preliminary" or "validated", it is included by default as a SR file (structured report).
If the report is still in status "draft" or is stored in PDF format, it will not be possible to forward.
The option to include the report can be unchecked by the user before transferring the study.
5. In case a DICOM worklist has been configured, you can now look up and select the patient or study by using the filters.
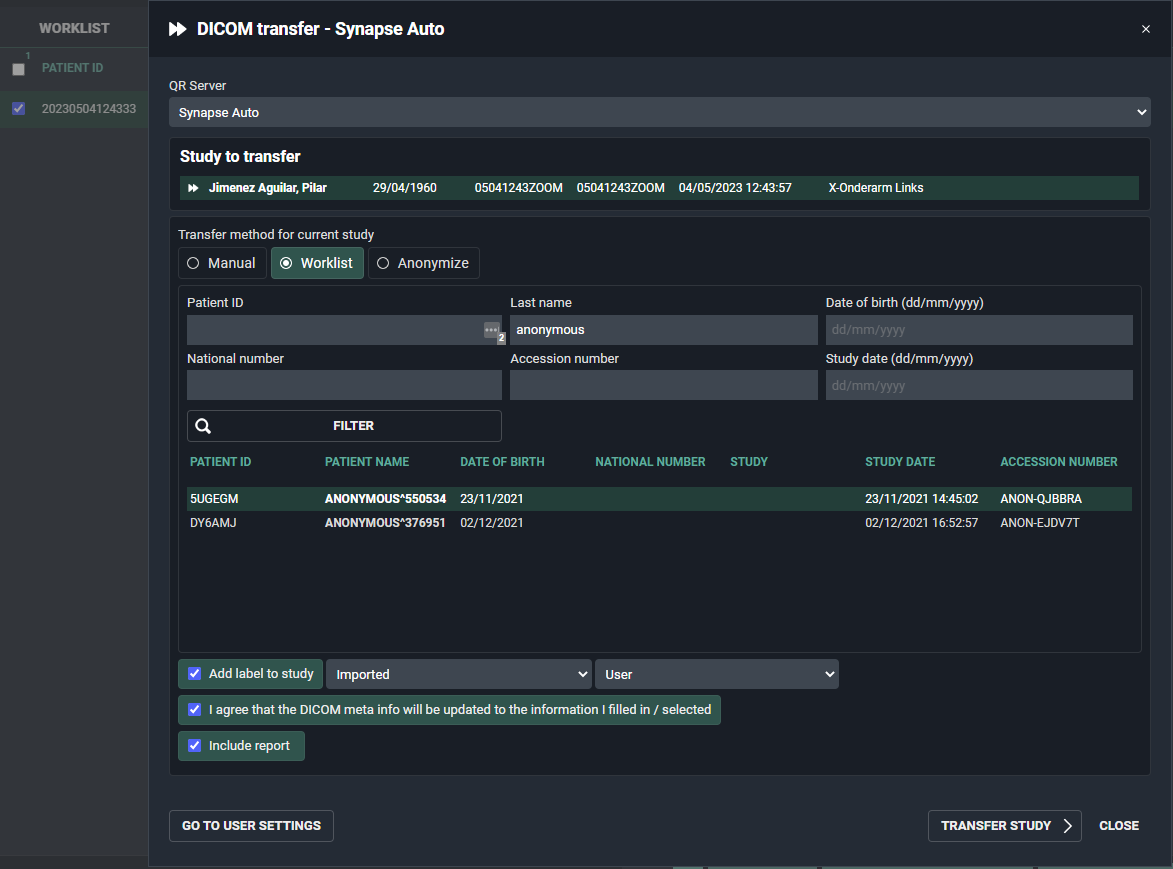
6. If you do not have a Worklist configured or cannot find the patient or study, you can add the patient ‘Manually’,by clicking the "Manual" radiobutton. Edit the fields you wish to modify and click Transfer Study.
7. A pop-up window with the status will now be displayed. 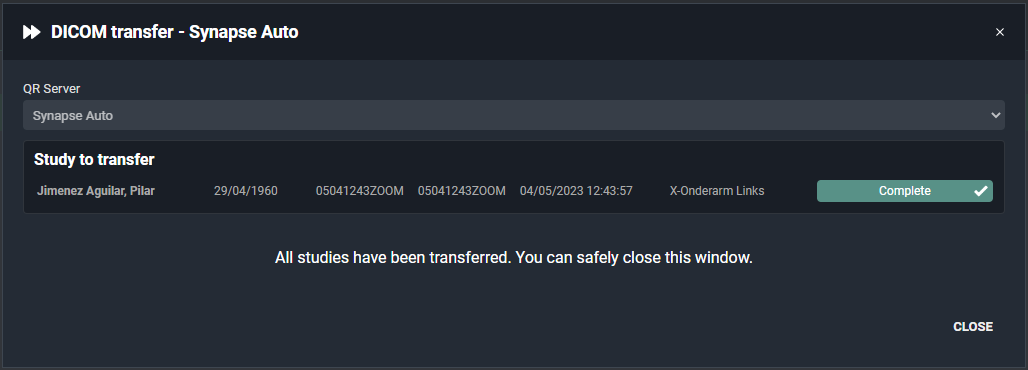
8. Once the transfer has completed, the study will be available in the local PACS system and the label ‘Imported’ will be added to the study in DeepUnity PACSonWEB. 
Tip | |
 | You can filter by the ‘Imported’ label if you make labels available under Filtering. The ‘Imported’ label will be displayed in your overview list if you have configured the ‘Labels’ column under ‘Column settings‘. |